Build your AI
Revenue Management Agent
Follow this guide to repeat, at your own pace, what we did in the workshop: create your Houston account, connect your tools, and install the agent we shared. By the end you will have an assistant that watches the market for you.
An agent that does your market research on its own
A "Revenue Manager" inside Houston that runs the Market Pulse skill.
You give it a city and some dates, and it checks Airbnb, Booking, Expedia, Vrbo and Hostelworld to bring you prices, availability, real demand and what guests are saying. It replaces hours of opening listing after listing and copying data by hand.
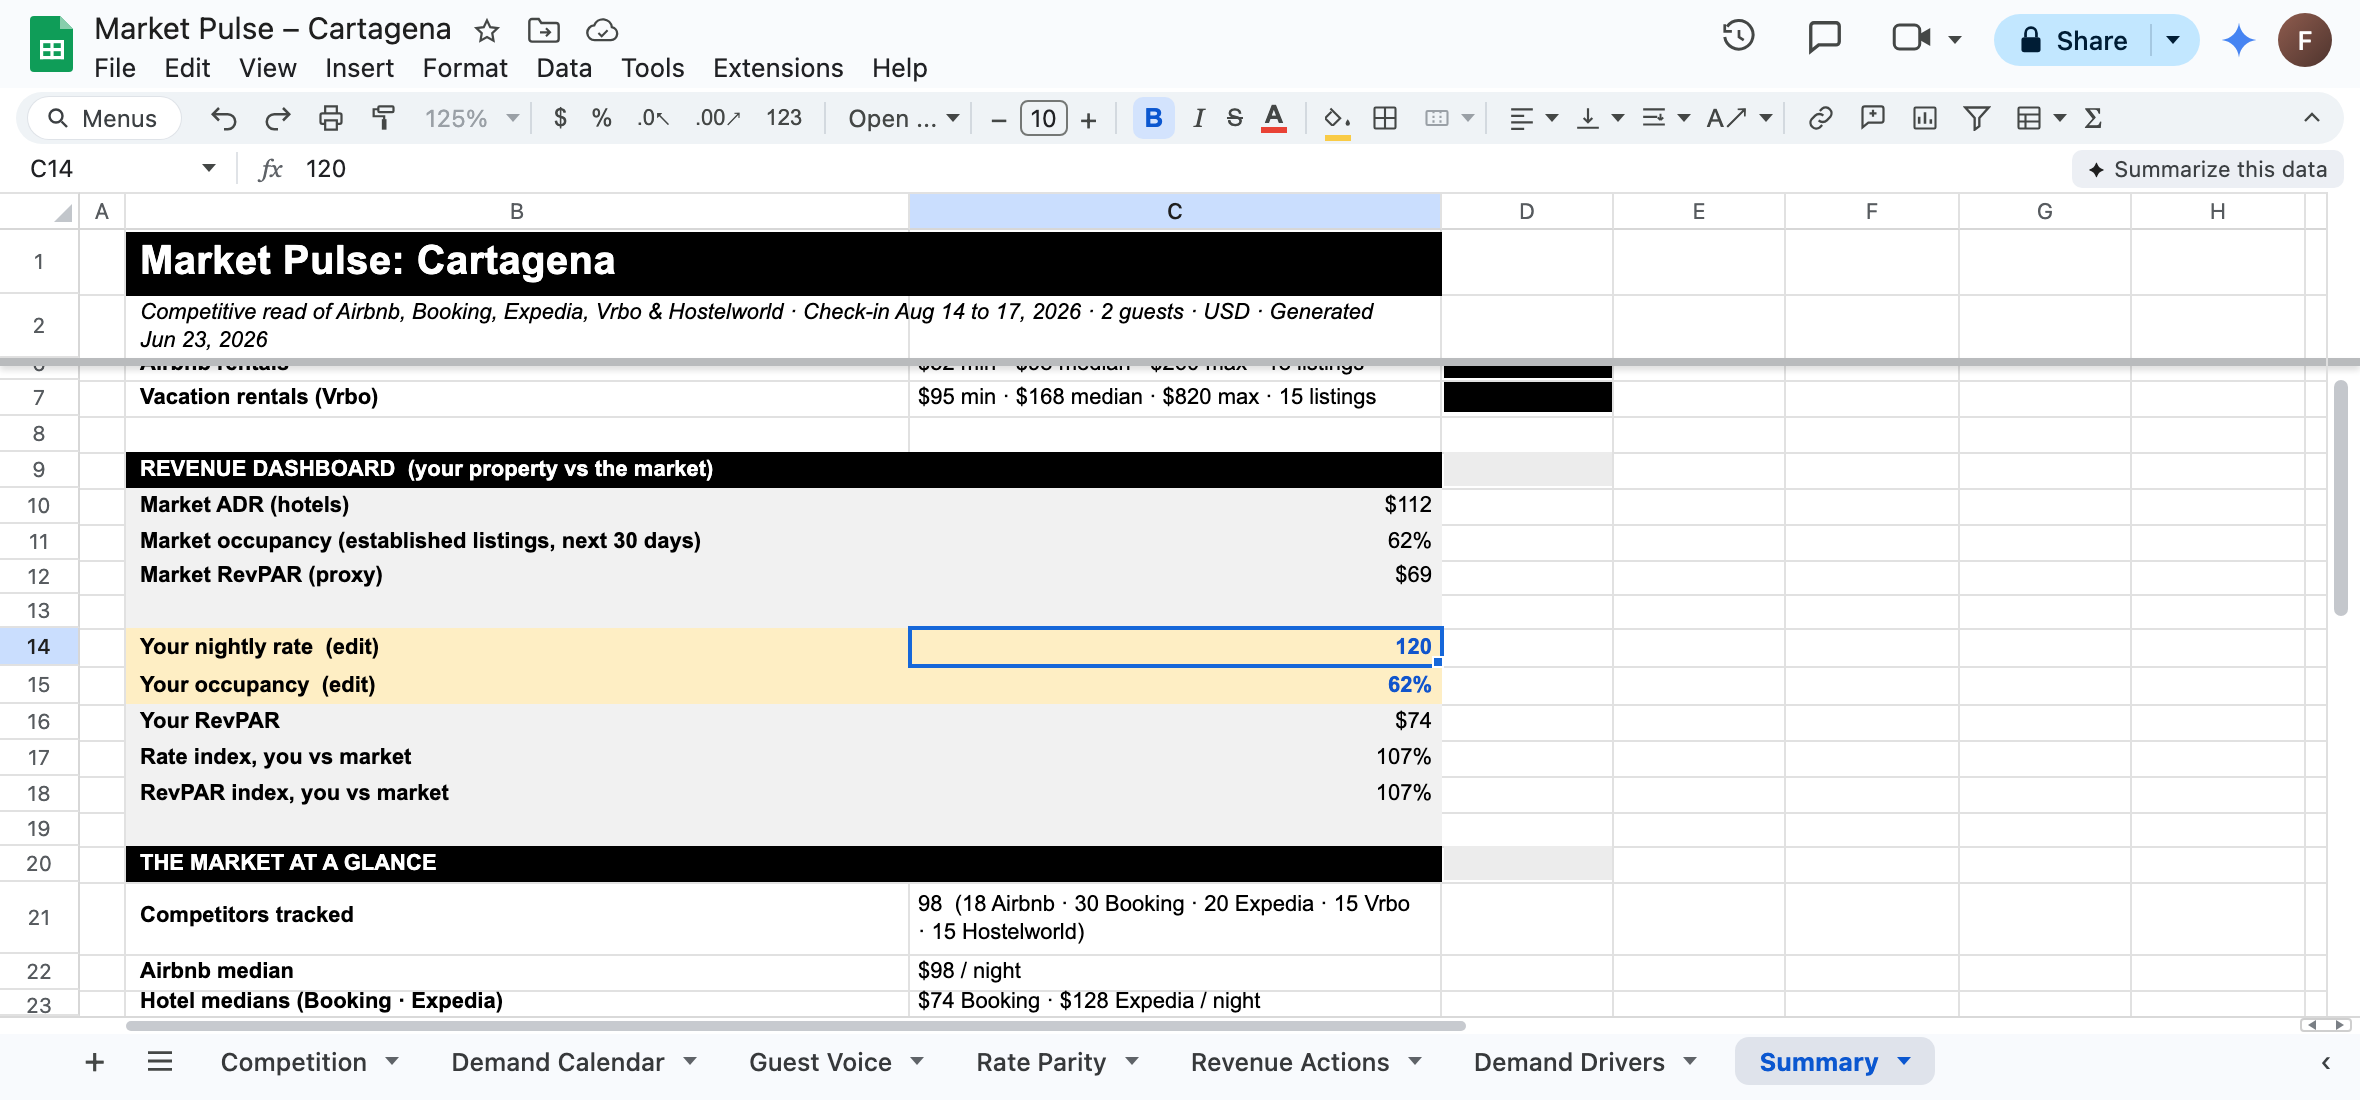
The result: a Google Sheet with 7 tabs ready for decisions:
- Competition: every listing consolidated and normalized to a nightly rate in dollars.
- Demand calendar: your competitors' occupancy, day by day.
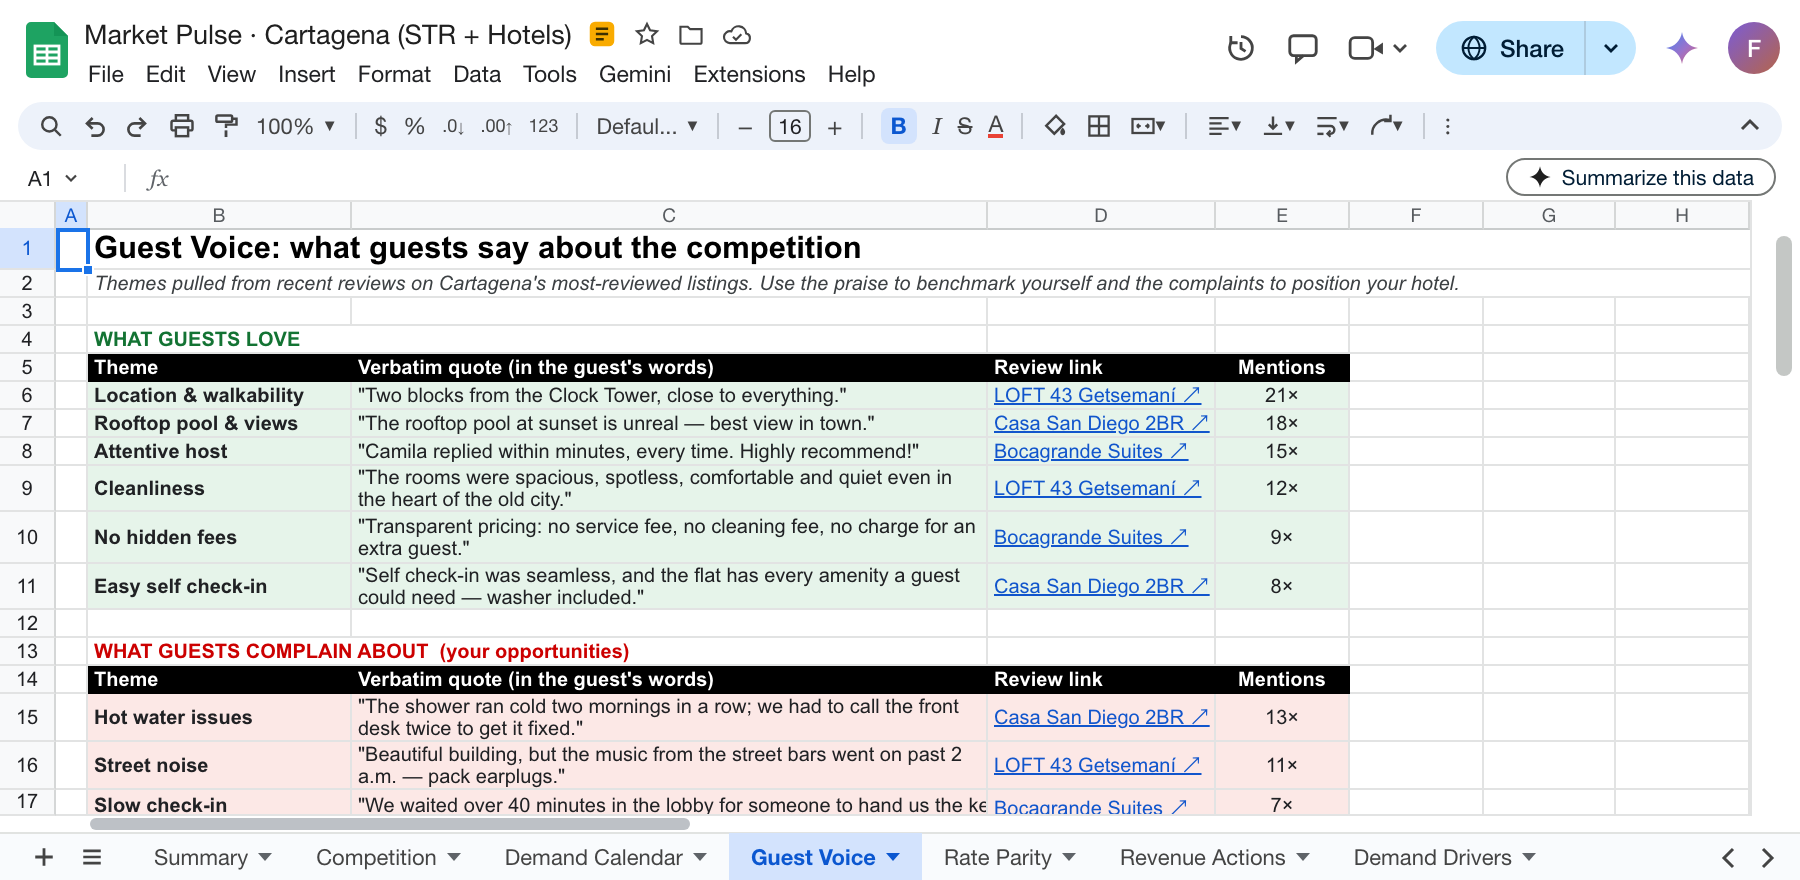
- Guest voice: what guests love (in green) and what they complain about (in red), with the link to each review.
- Rate parity: the same property across channels and where the price gaps are.
- Revenue actions: raise, lower or hold your rate for each date window.
- Demand drivers: events that move the market (fairs, long weekends, concerts) with their source.
- Summary: type in your nightly rate and it tells you where you stand against the market.
What you need at hand
- A Mac or Windows computer. Houston runs on your computer, not on a phone, tablet or iPad.
- An AI provider account: OpenAI (the ChatGPT one) is recommended for its free plan, or Anthropic. If you do not have one, you can create it free in a minute.
- The Revenue Manager agent file. It is the same one we shared in the workshop; download it here:
Download the agent fileRevenue-Manager.houstonagent · 26 KB
- These links:
- Apify sign-up (comes with 75 USD in credits): open the sign-up link
- Anakin.io sign-up: www.anakin.io
You can open your email, you have your computer at hand and the links from this guide in view. Set aside a quiet block of time: setup takes 45–60 min, and your first Market Pulse another 20–60 min the first time.
6 steps, in order
Do them top to bottom. Each step builds on the previous one.
Download and installation~10 min 2Set up Houston
Language, AI provider (OpenAI) and Composio~10 min 3Create your tool accounts
Apify and Anakin.io~10 min 4Connect the integrations in Houston
Apify MCP, Google Sheets and Anakin~10 min 5Install the agent we shared
"From a friend" → bring the agent in~5 min 6Run your first Market Pulse
Generate your 7-tab Google Sheet20–60 min
Install Houston and create your account
- Go to www.gethouston.ai.
- Click the download button, enter your contact details, and continue to the installer.
- Download the right version for your system: one for Mac and one for Windows.
- Open the installer and follow
Next→Next→Install. - Open Houston.
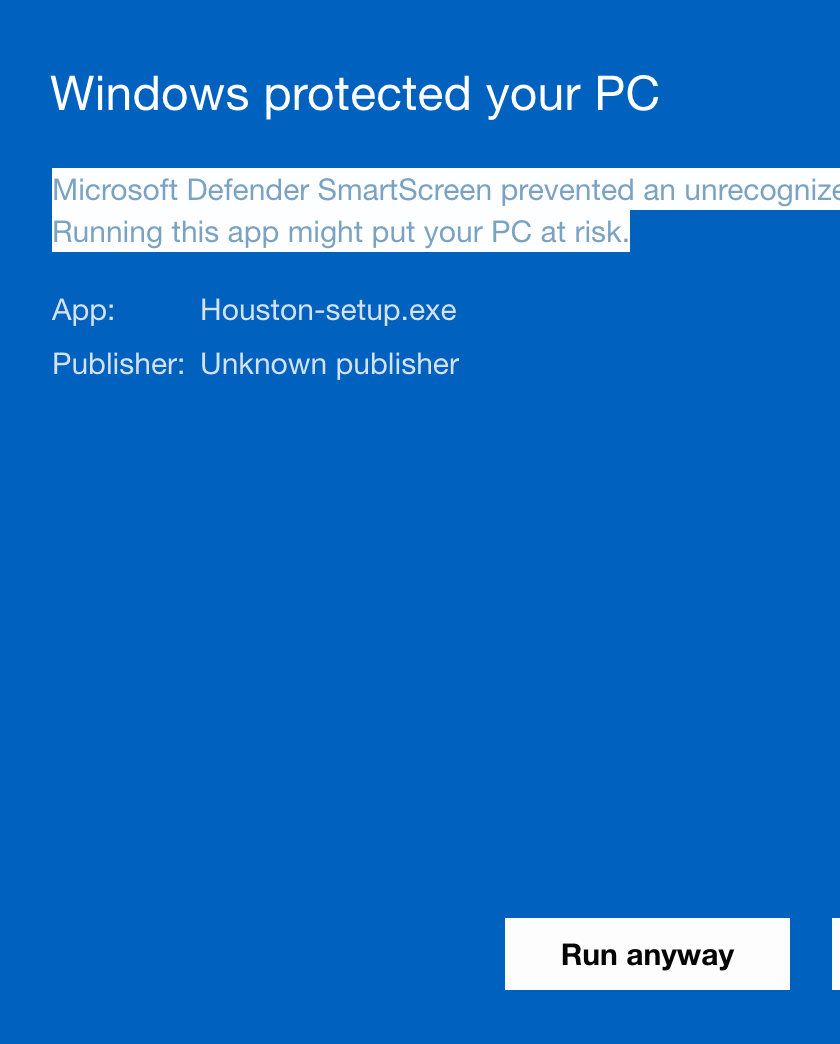
Windows may show "Windows protected your PC". This is normal: Houston is in beta for Windows. Click More info and then Run anyway.
Houston installed and open on your computer. If it seems to have "disappeared", it is minimized in the taskbar: open it again.
Set up Houston
- Choose Houston's language. Pick English (or Spanish, if you prefer).
- On the "A few things to know" screen (it explains that agents act on your behalf and that your files stay yours), read it and click
I understand and want to continue.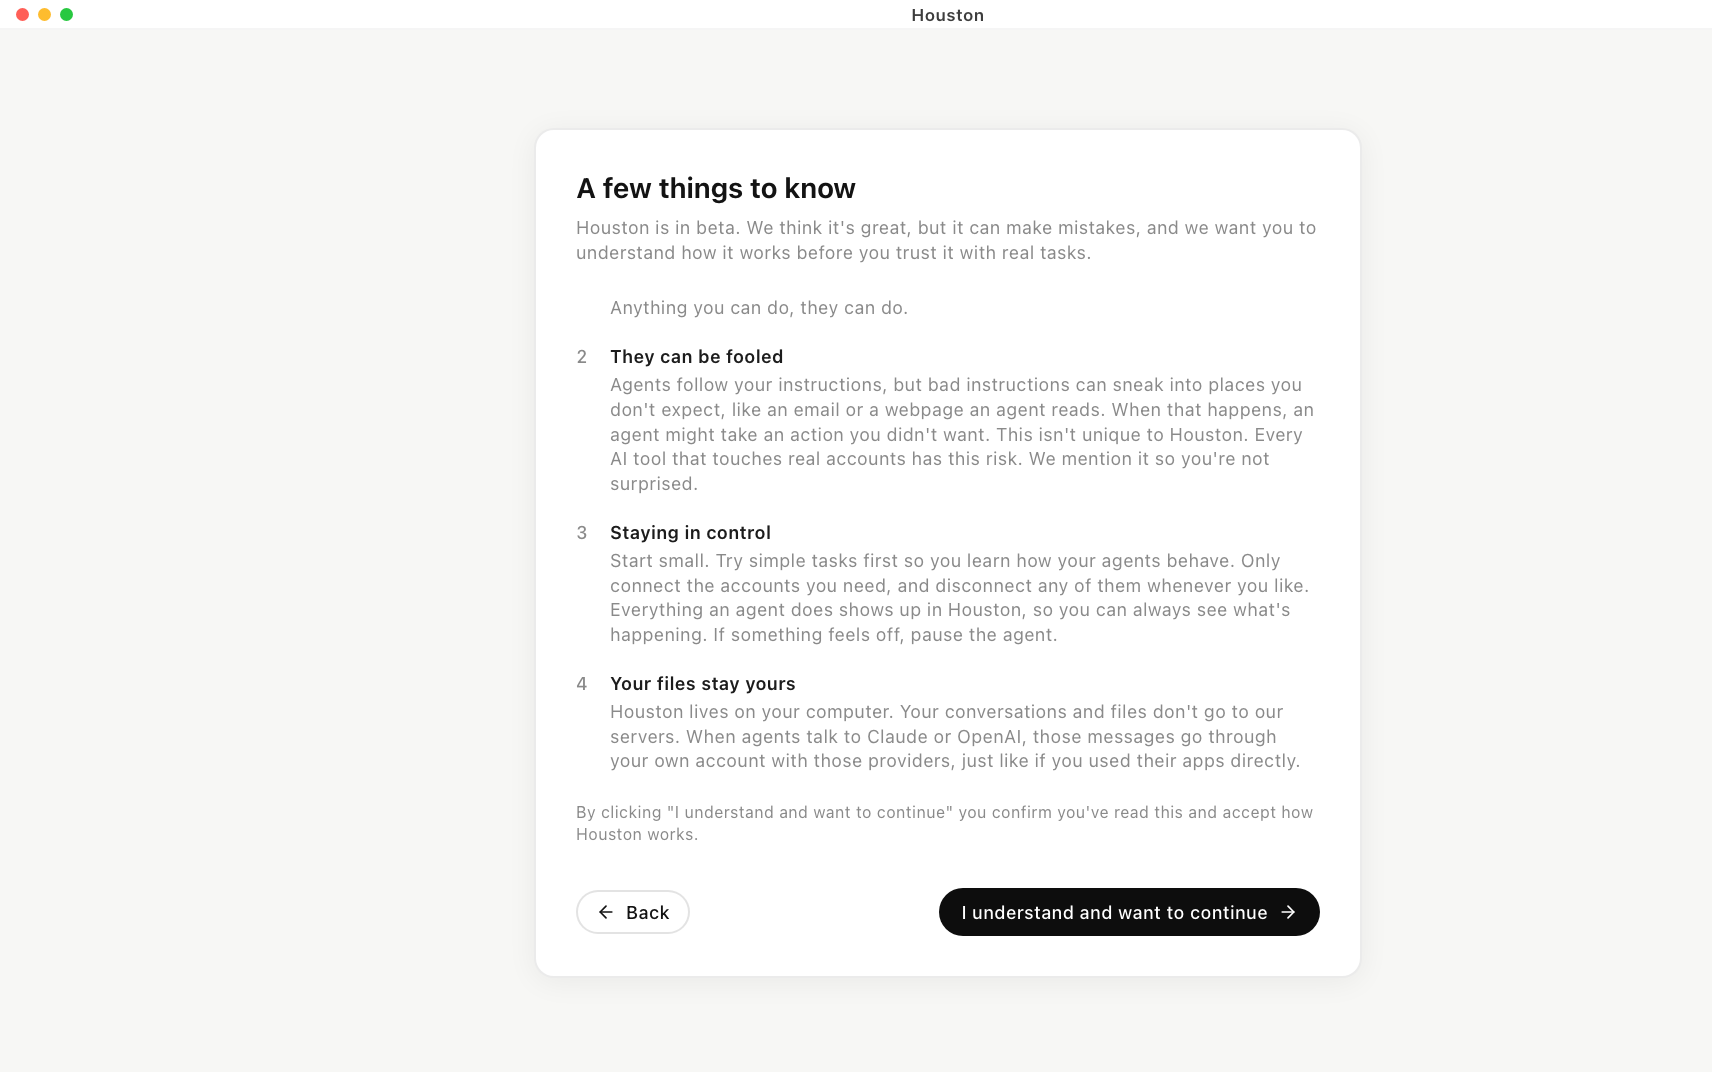
Screenshot 6The "A few things to know" screen. At the end, click "I understand and want to continue". - Connect your AI provider. Choose OpenAI (recommended) or Anthropic. Click to sign in; if you use ChatGPT, sign in with your OpenAI account. It may pass through a Codex screen: accept it. When the browser says "you can close this page", go back to Houston.
- Connect your integrations provider (Composio). Click
Sign in→ the Composio site opens →Sign in with Google or Microsoft→Authorize. Close the tab and go back to Houston.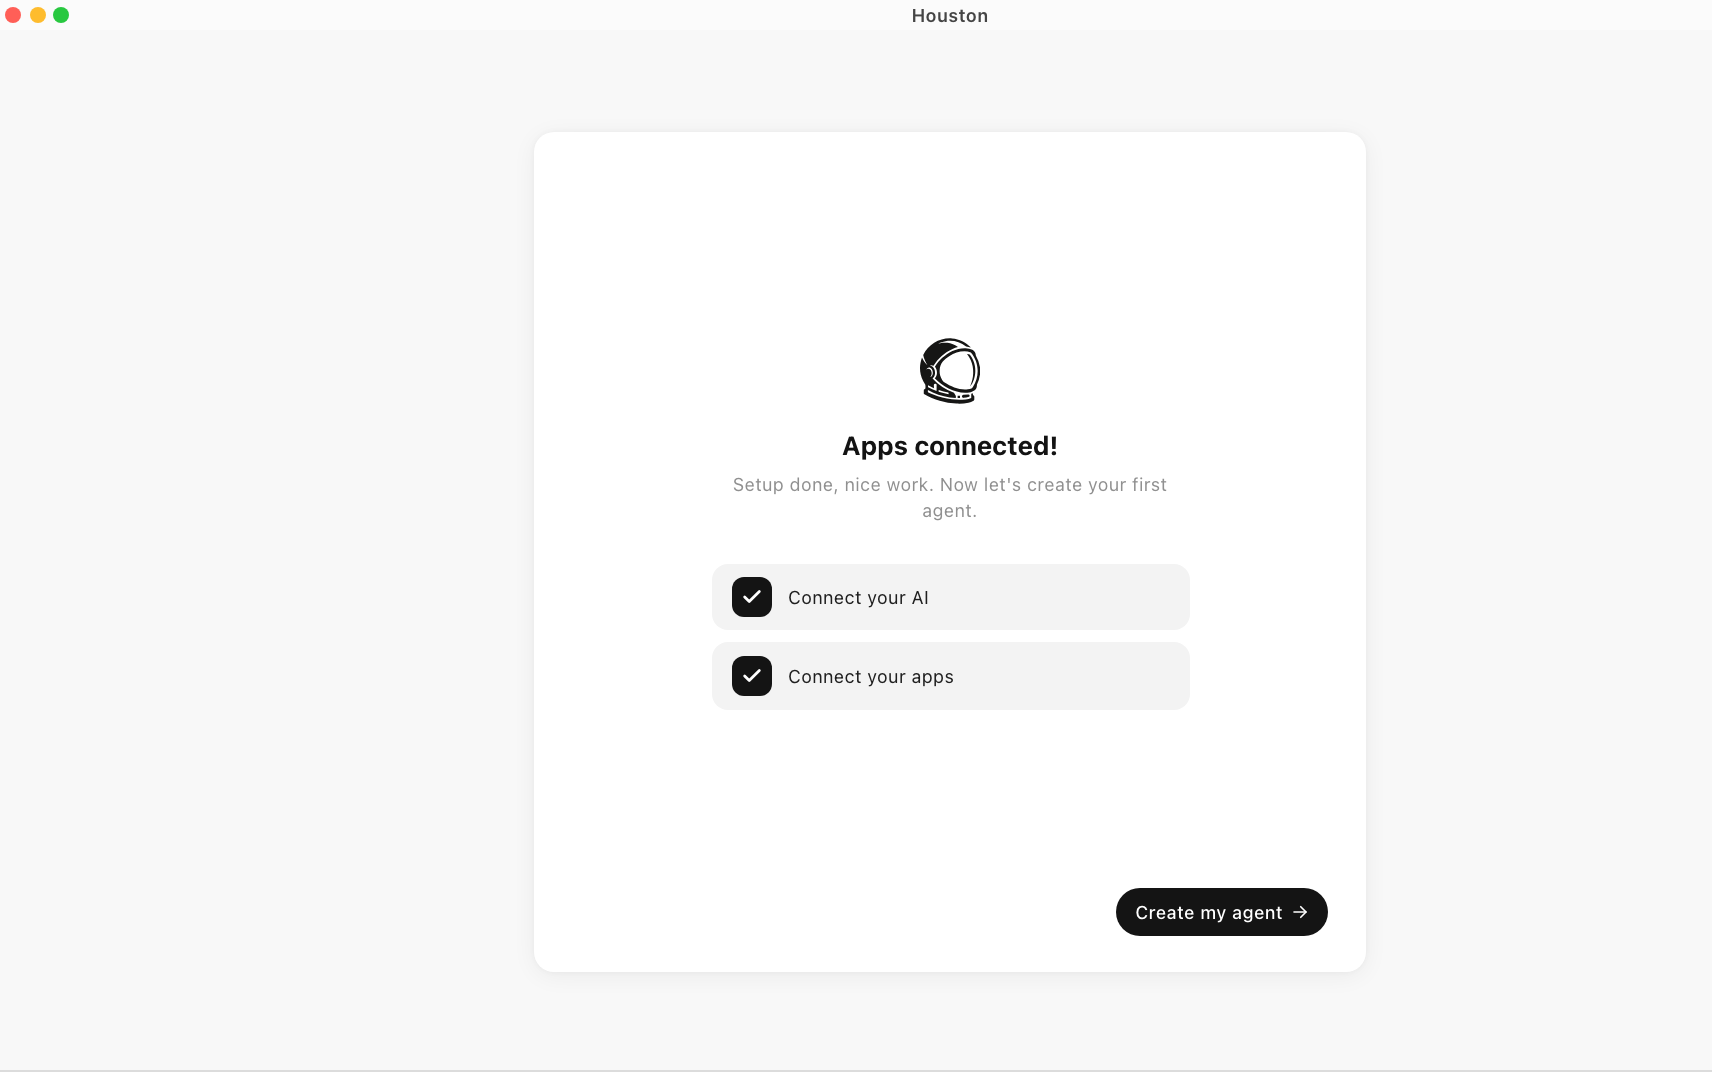
Screenshot 8The "Apps connected!" confirmation: your AI and your apps are ready. Continue with "Create my agent". - Create your first agent (Houston walks you through a mini tutorial). Name it after its role, for example Personal Assistant.
- When it asks, connect your email (Gmail) and let it send the first test email.
- Complete
Take a tour of Houston.
If the browser says "you can close this page" and Houston does not move on, or if Composio says "something went wrong while connecting": click Try again. If it persists, close Houston and open it again.
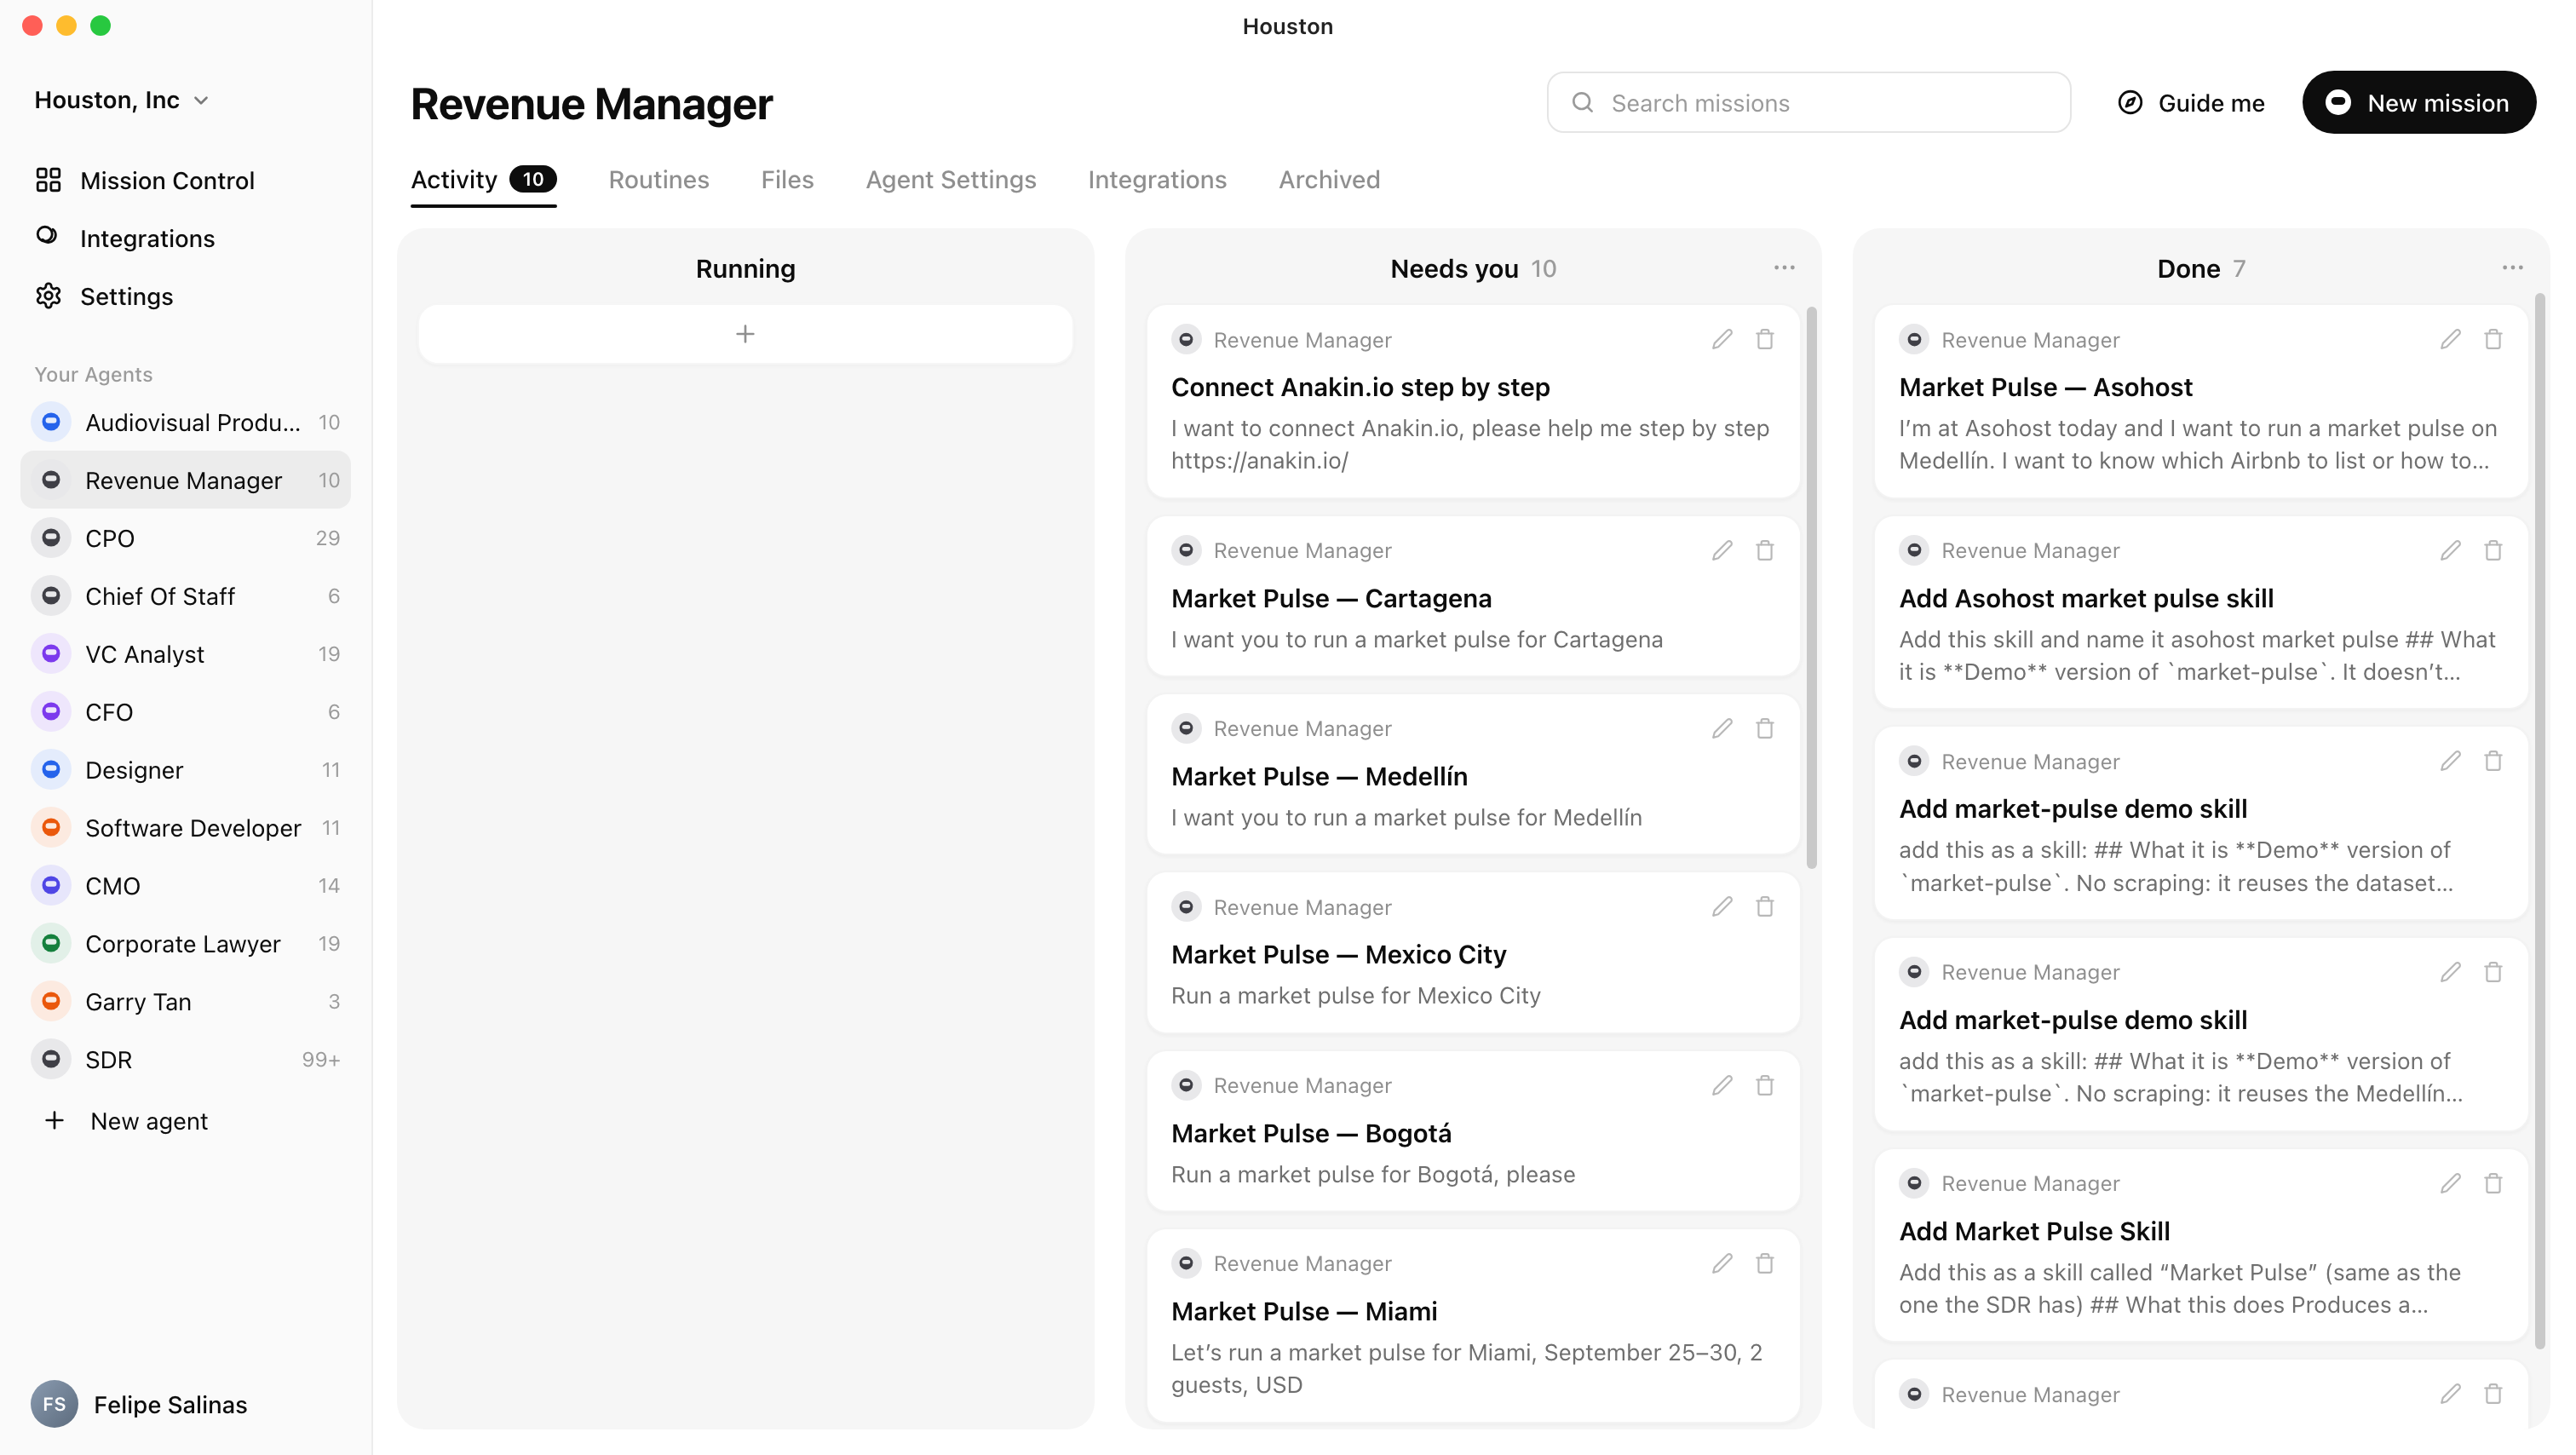
Houston's main screen unlocks, with your agents in the left column. Your AI provider and your integrations provider are now connected.
Create your tool accounts
These two tools give your agent "hands" to search prices and data on the web. For now just create the accounts; we connect them in Step 4.
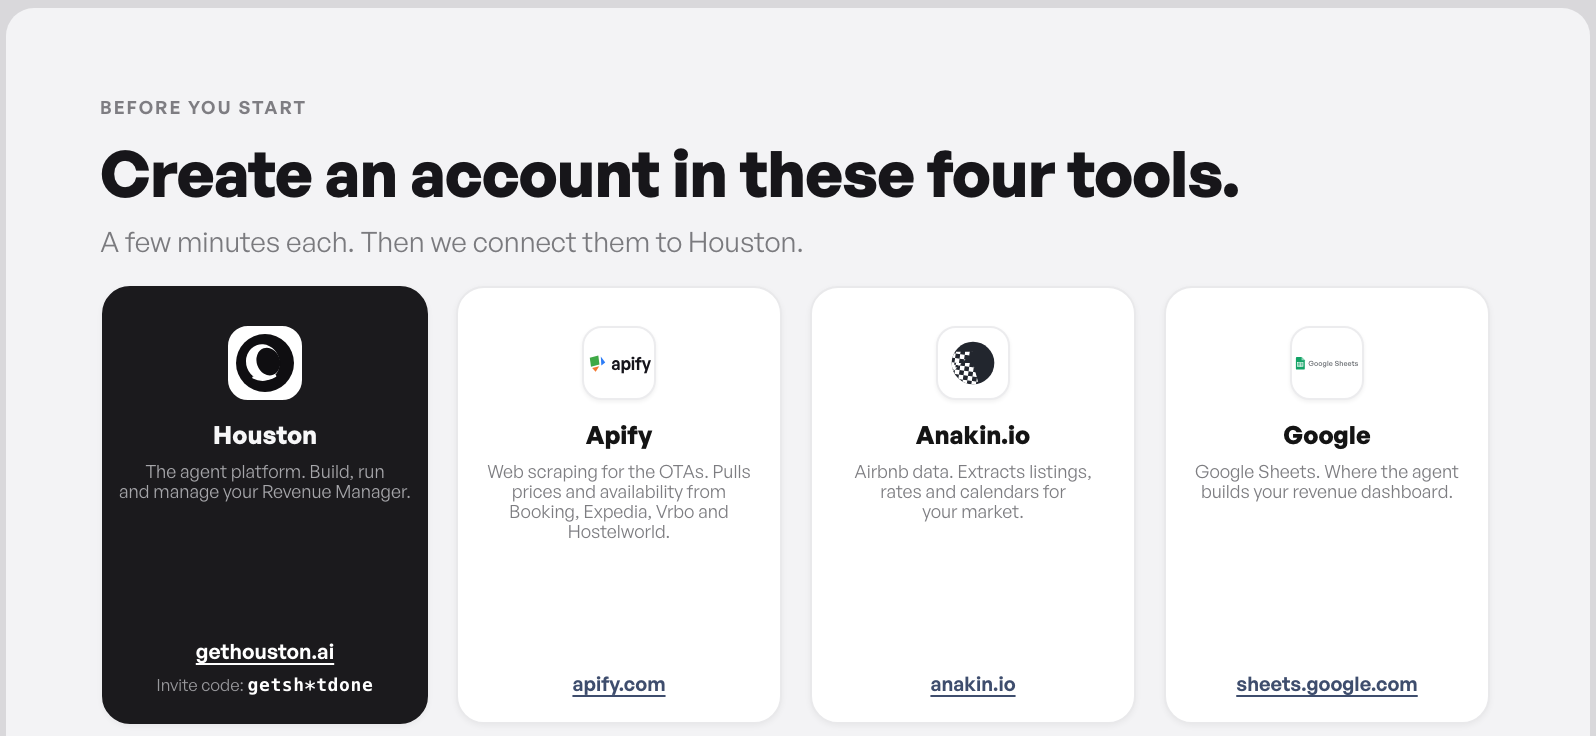
A · Apify: the price and data fetcher
- Open the Apify sign-up link. It loads 75 USD in credits automatically.
Create my Apify accountconsole.apify.com/sign-up?couponId=HOUSTON_ROCKET
- Sign up.
If email sign-up fails, use "Sign in with Google".
B · Anakin.io: for the sites with no direct connection
- Go to www.anakin.io and sign up.
- Verify your email. You will see free credits (for example, "500 points").
- Generate your API key: in Anakin, go to the left bar, at the bottom, to
API Keys→Generate New Key→ give it a name (for example, "Houston").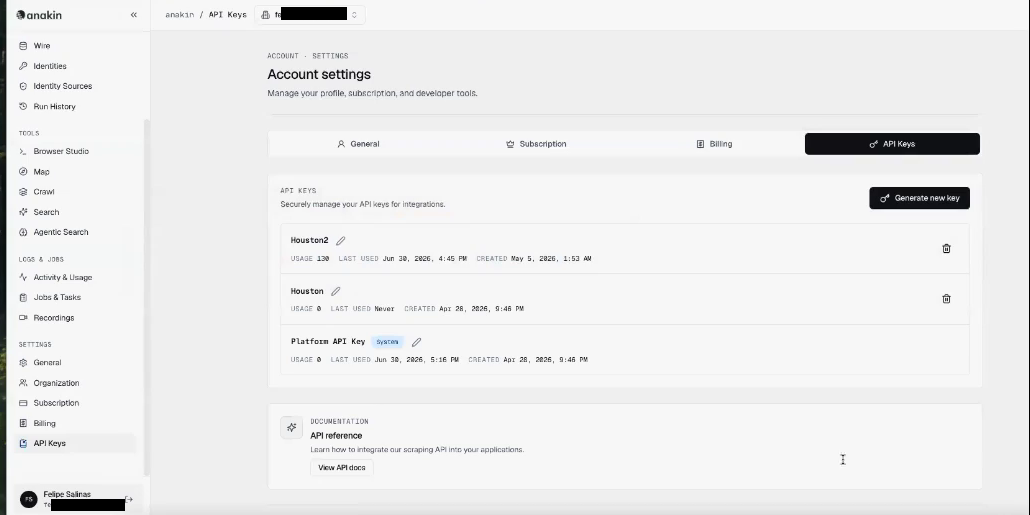
Screenshot 11In Anakin: Account settings → "API Keys" tab → "Generate new key" button (top right). - Copy the key and store it immediately somewhere safe.
Anakin will not show you the key again after you close the window. Copy it as soon as you generate it. And for safety, do not share your screen while you create it.
An Apify account and an Anakin.io account, with your Anakin API key copied and stored.
Connect the integrations in Houston
A · Apify (via "Apify MCP")
- In Houston, go to
Integrations. - Search for Appify. Two results appear:
ApifyandApify MCP.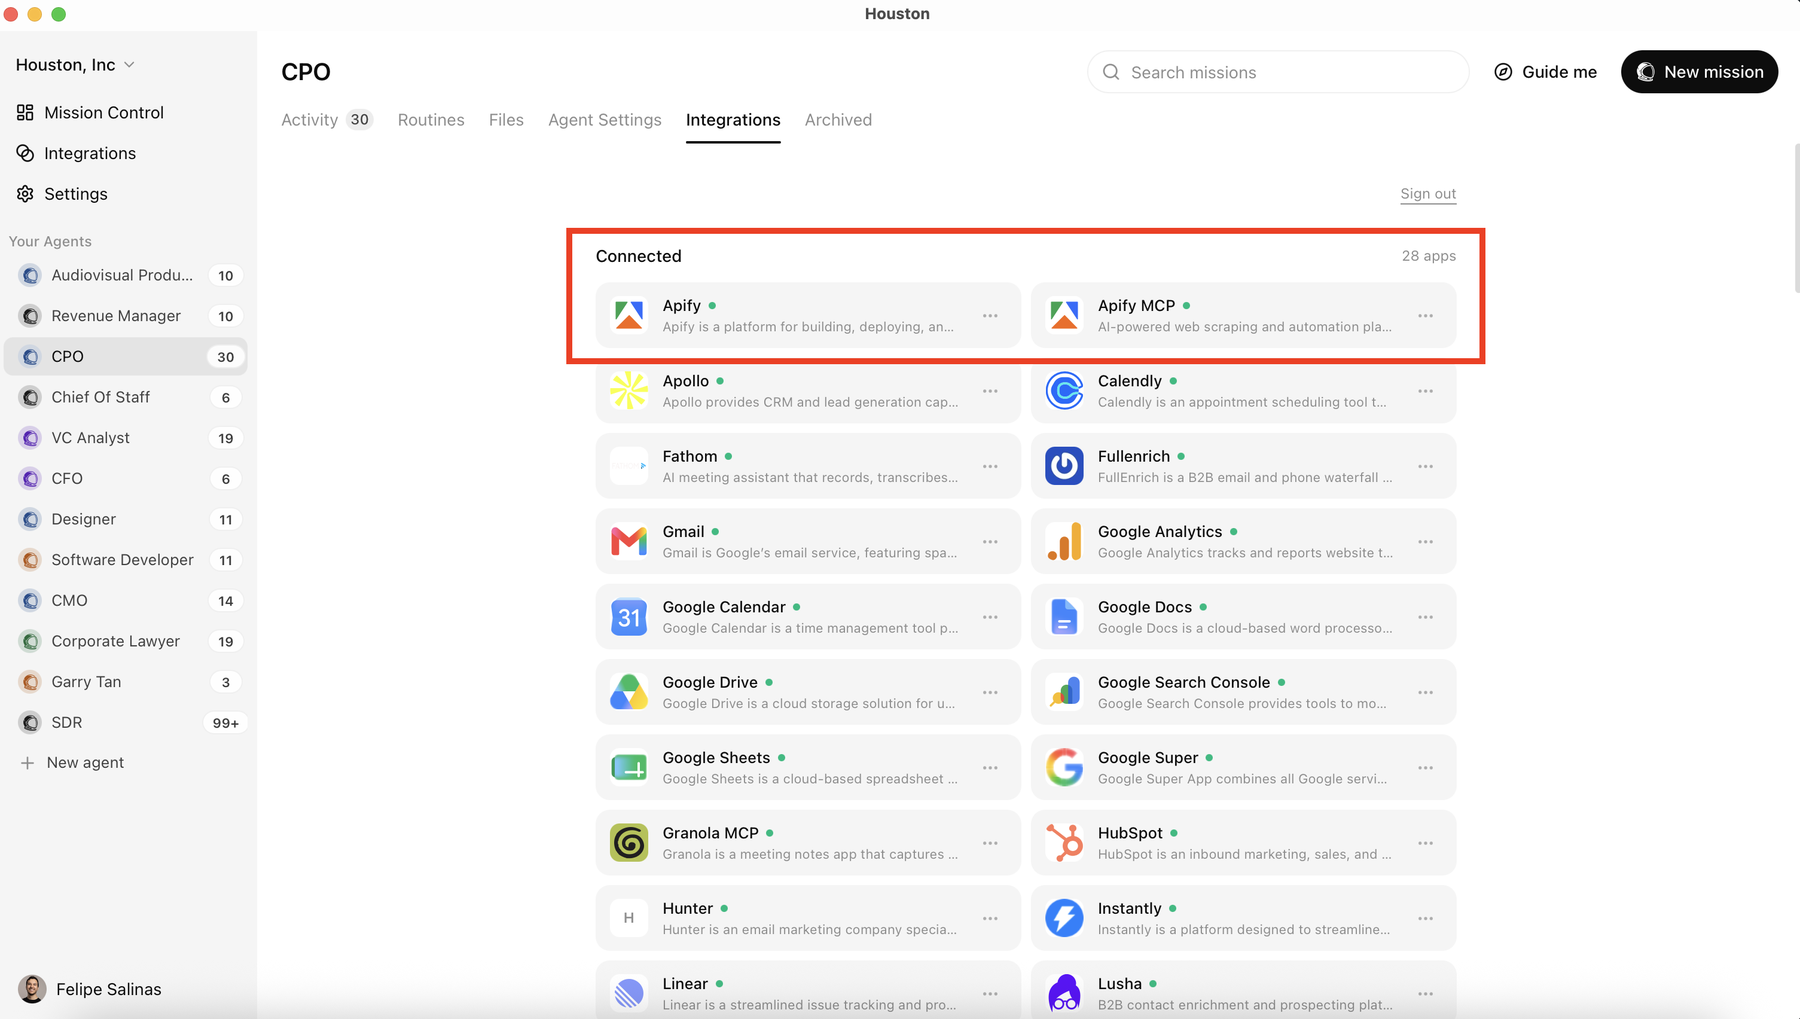
Screenshot 10The two results in Integrations: "Apify" and "Apify MCP" (the red box). Connect the one on the right: Apify MCP. - Connect Apify MCP (you just click and sign in, no token). Confirm "is this you?" →
Authorize.
Connect Apify MCP, not the plain "Apify". The other one asks for a token and is the one that confuses people the most.
B · Google Sheets
- In
Integrations, connect Google Sheets. (If you want to connect all of Google at once, Calendar, Docs and email included, you can useGoogle Superinstead.)
C · Anakin.io (from the chat)
Anakin is connected from a conversation with your agent, not from the Integrations list.
- Open a new chat with your agent and type:
Copy and paste into the chatI want to connect anakin.io, please help me step by step.
- When it asks for the key, paste it like this:
Copy and paste, replacing with your keyThis is my key, please store it securely and connect me.
- Verify it is connected by typing:
Copy and paste into the chatAre you connected to anakin.io yet?
It is anakin.io (with .io), not anakin.ai. If you see it trying to connect to the other one, stop the run with the stop icon (bottom right) and tell it: "the app is anakin.io".
All three integrations ready: Apify MCP, Google Sheets and Anakin.io (confirmed in the chat).
Install the agent we shared
- First download the agent file if you have not yet:
Download the agent fileRevenue-Manager.houstonagent · 26 KB
- In Houston, in the left bar, click
New agent. - Choose
From a friend→Choose fileand select the agent file.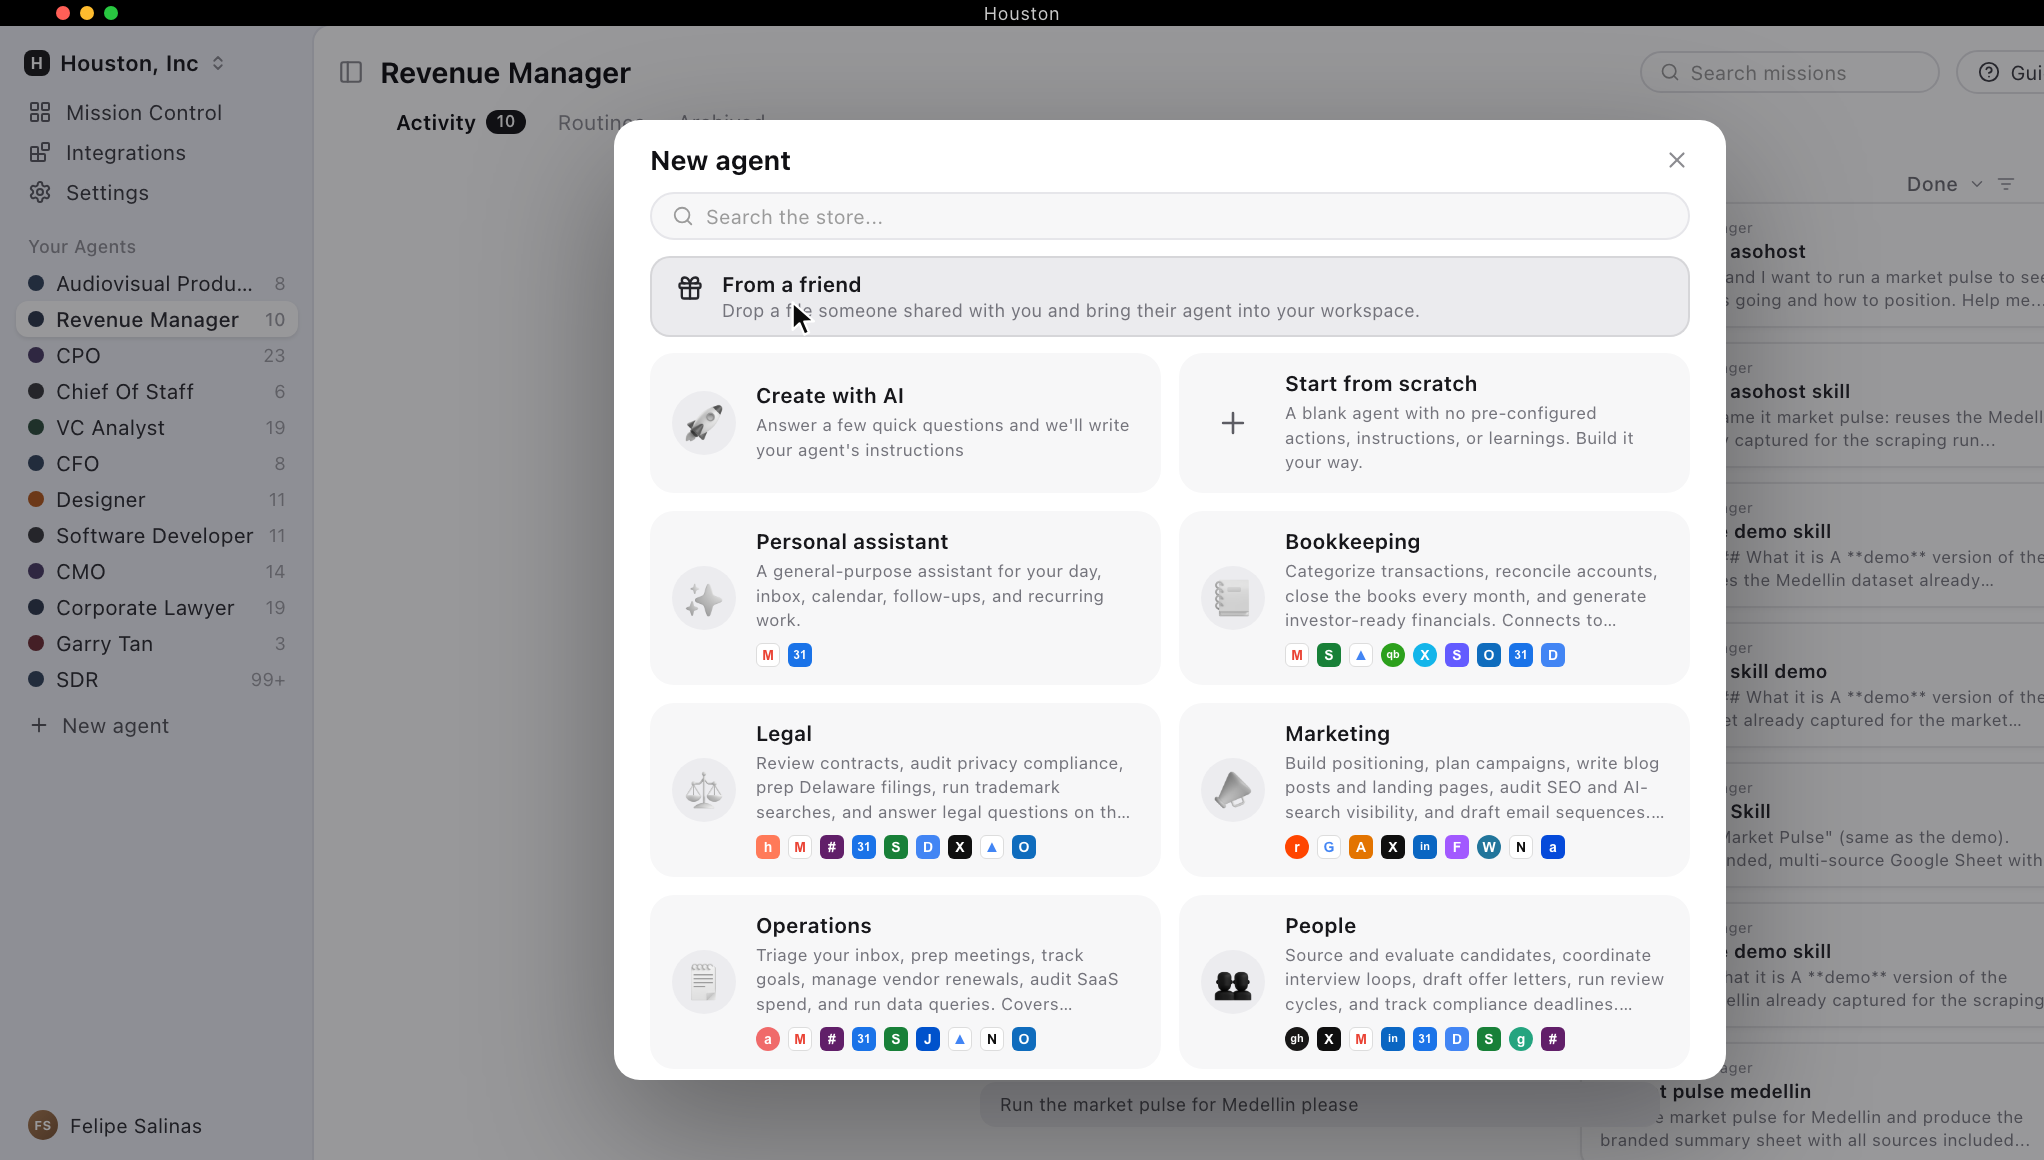
Screenshot 12The "New agent" window: the "From a friend" option is at the top. That is where you upload the file. - Houston asks "should Houston take a quick look?" Choose
Yes, review it first(a recommended safety review when installing something from a third party) and wait for it to confirm it is clean. - Name it (for example, Revenue Manager) and pick a color.
- Click
Continueand keep the skills checked: Market Pulse (English), Pulso de Mercado (Spanish) and Parallel Orchestration. - Keep the learnings it comes with. Houston checks the apps: it may mark Anakin as "not connected" because we connected it through the chat; that is fine, keep going.
- Click
Bring the agent in.
Upload the file as is, as a single file. If your computer unpacks it into several parts, the install fails. Keep it all together.
If choosing the file opens a strange window (PowerShell) or it will not load, use the alternate method: drag the .txt skill files into the chat and type "these are all the skills, please install them".
After installing, type in the chat: "I already have it connected through Apify MCP, please check, use that one and update my skill."
Your new Revenue Manager agent in the left column, with its instructions, skills and learnings already loaded.
Run your first Market Pulse
- Open the Revenue Manager agent and create a
new mission(the + button). - Select the Market Pulse skill.
- Type your request:
Copy and paste, changing the cityRun a market pulse for Cartagena.
- The agent asks you questions before starting. Answer them: check-in and check-out dates, how many adults and children, which currency and which area. For example: "for the last week of September, two adults, in dollars, in the historic center."
- Let it work in stages. First it creates the empty Google Sheet and then fills each tab, pausing to ask for your feedback.
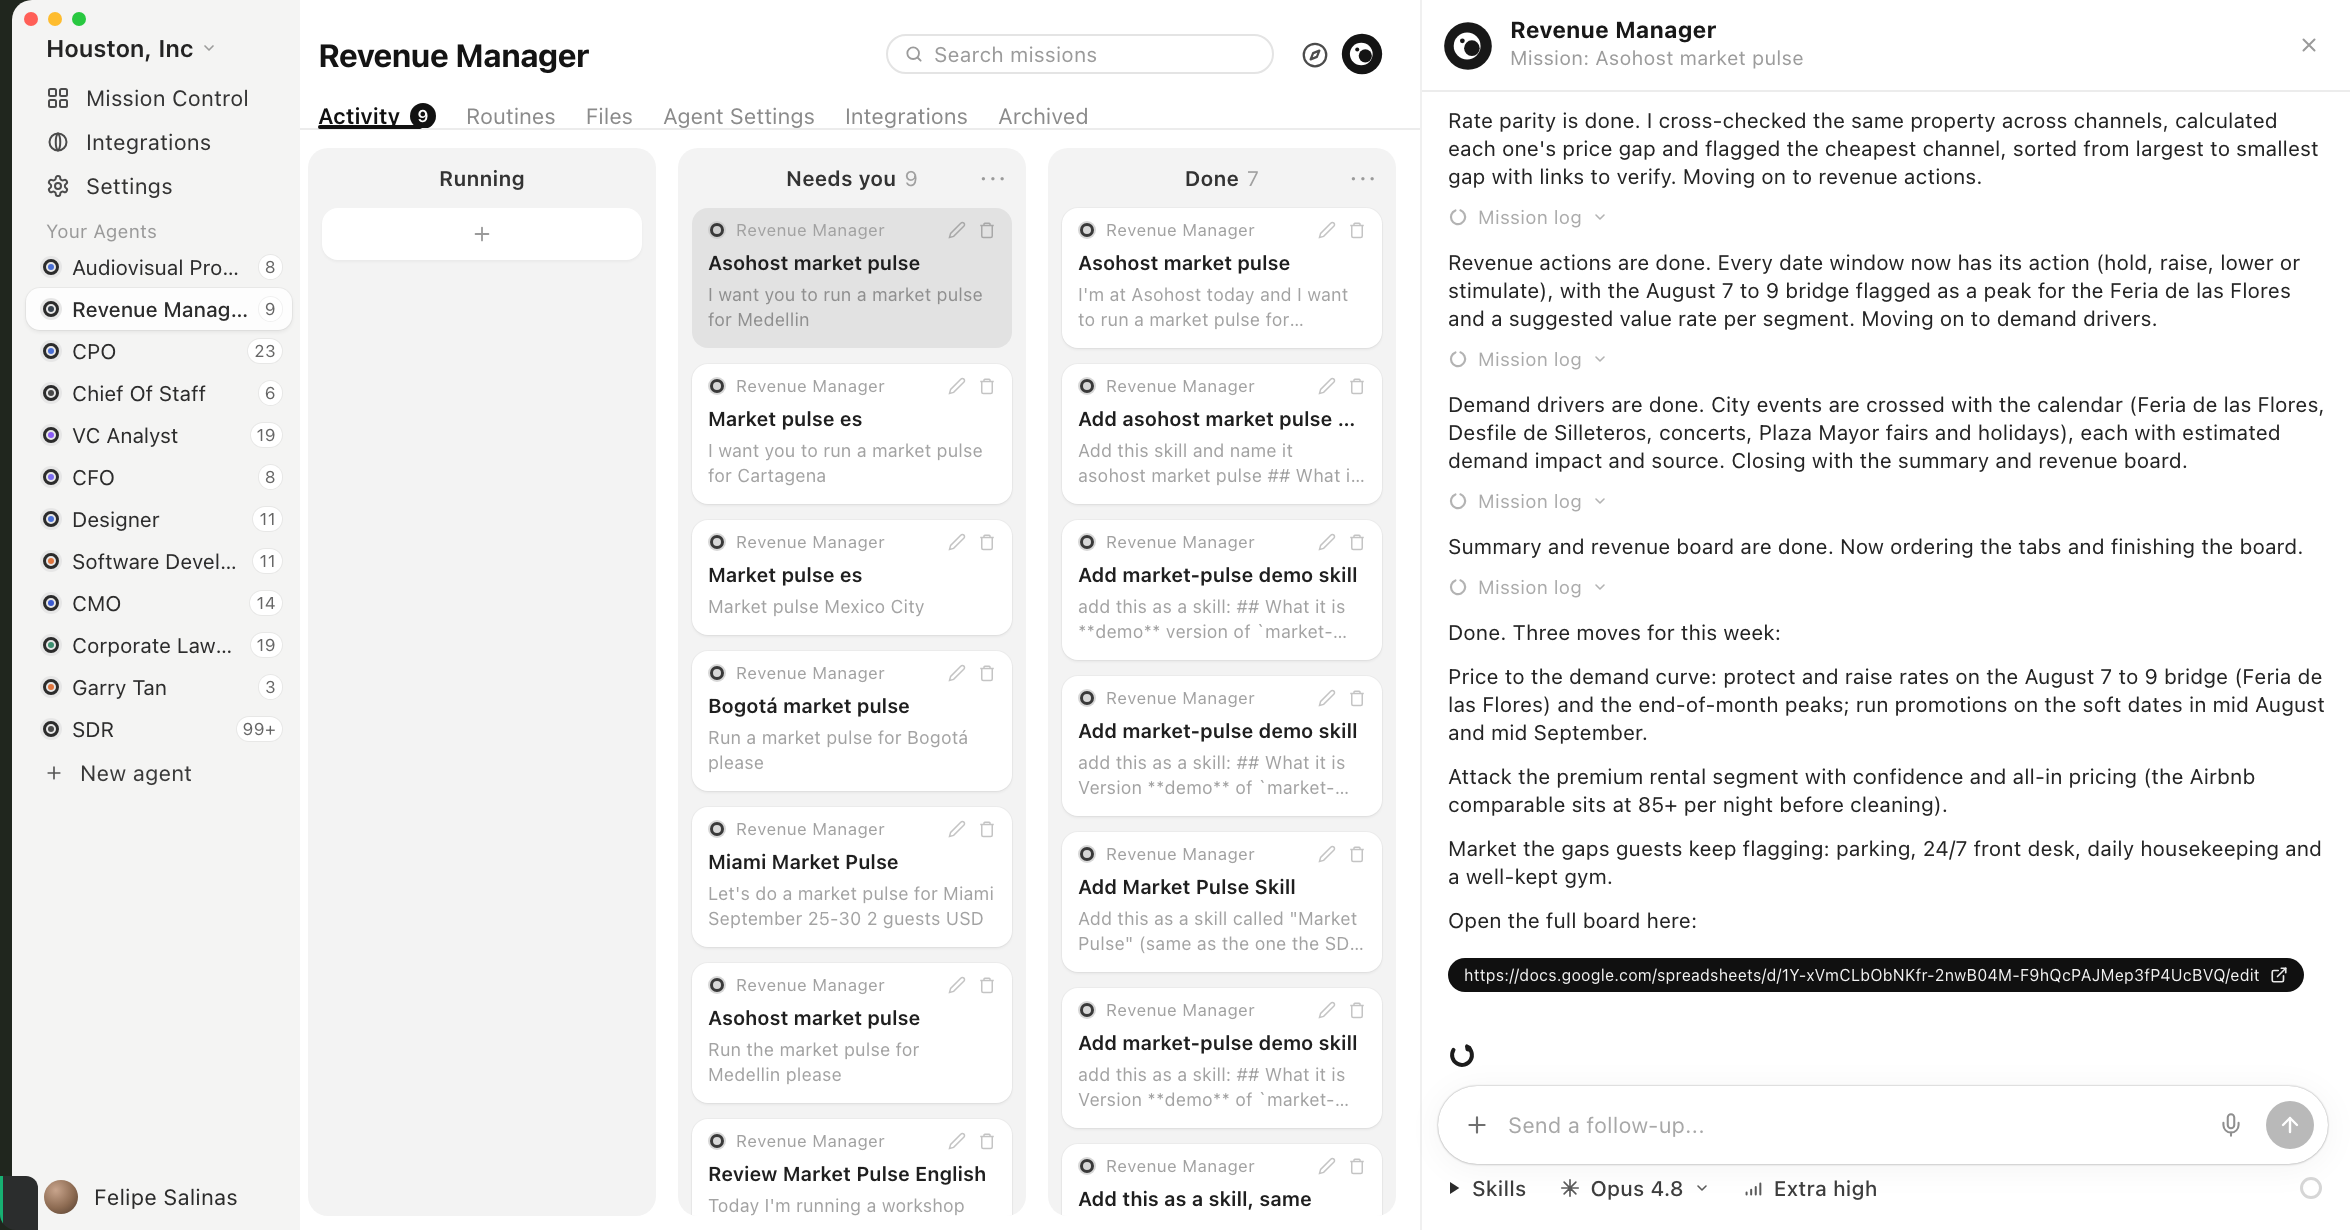
Screenshot 13The agent working in stages: it reports as it finishes each tab and at the end leaves you the link to the completed Google Sheet.
You have a Google Sheet with all 7 tabs filled. In the Summary tab, type your nightly rate (for example, $100) and the sheet tells you where you stand against the market.
The first proper run takes 20–60 min, because you review and give feedback along the way. You can stop it anytime with the stop icon (bottom right) to correct it. Afterwards, turn it into a Routine: "make this a routine, update it every day at this time."
Make it yours
Everything is edited by talking to it in plain language, no code. Treat it like a new intern you are training.
- Compare against your property: "Run a market pulse for Medellín, but first here is my Airbnb so you can compare it: [paste your listing link]."
- Adjust the scope: "Drop Expedia", "do not connect to Booking", "translate your instructions to Spanish and update them."
- Teach it from a conversation: "Review this conversation, update your skills and save what is new to your memory."
- Connect another tool (your PMS): in the chat, "help me connect to [your PMS] step by step, explain it like I am 10 years old."
Troubleshooting
The most common stumbles from the workshop and how to fix them.
?Windows says "Windows protected your PC" and will not let me install
More info and then Run anyway. It happens because Houston is in beta for Windows; it is safe. If your computer is corporate and blocks every download, that is your company's security policy; write to us and we will help.?I downloaded Houston but it will not open
?The browser says "you can close this page" and Houston stays stuck
Try again or restart the app.?I use ChatGPT, which AI provider do I pick?
?Apify asks me for a "token"
?After installing the agent, it says Apify is "not connected"
?Anakin tries to connect to the wrong app
?The Anakin key does not work after importing the agent
?Choosing "From a friend → Choose file" opens a strange window
.txt skill files into the chat and say "please install them."?The agent says it lost the Google Sheets permission midway
?I have many properties, does this work for my portfolio?
Your success checklist
If you can check all of this, you are done.
Stuck on a step?
Write to us and we will get you unstuck. Nobody is left without their Revenue Manager up and running.
¿Hablas español? Join the Houston LATAM WhatsApp community.